CyberPanel is a web hosting control panel powered by LiteSpeed, designed to deliver high performance and ease of use. It features an intuitive interface, supports LiteSpeed’s Enterprise Web Server, offers built-in security with ModSecurity and Let’s Encrypt, and includes a WordPress Manager, making website and server management efficient and user-friendly.
Minimum System Requirement
The minimum requirements to install CyberPanel include a virtual or dedicated server running CentOS 7.x or 8.x, Ubuntu 18.04 or 20.04, at least 1 GB of RAM (2 GB recommended), 10 GB of disk space, and a static IP address. These requirements ensure optimal performance and stability for hosting web applications.
CYBERPANEL VPS WITH PREMIUM ADDONS
Deploy your lightning-fast CyberPanel VPS at YouStable and get free addons worth $84/year, like WordPress Manager, Auto Backup etc
Install CyberPanel on CentOS, AlmaLinux & Rockey
Before beginning the installation process, please ensure you are logged into your VPS’s SSH Console.
For MAC users, navigate to “Launchpad” and search for “Terminal” to establish an SSH connection. Meanwhile, Windows users will require a third-party SSH client, such as Putty or Bitwise SSH Client, downloaded and installed on their machine to connect with the VPS server.
ssh root@YOUR IP ADDRESS
Copy the password, press “COMMAND+V” to paste, and hit “ENTER”
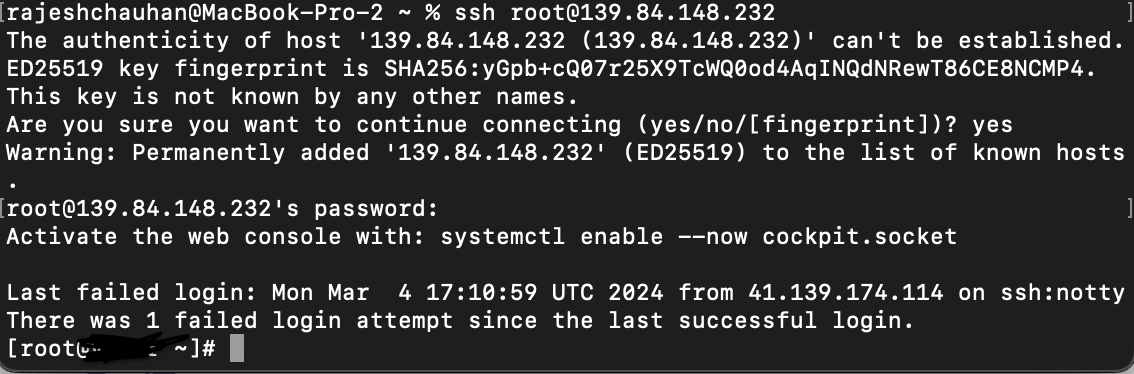
As you can see we are logged in successfully to our VPS console now we can start the CyberPanel Installation which may take 5-10 minutes
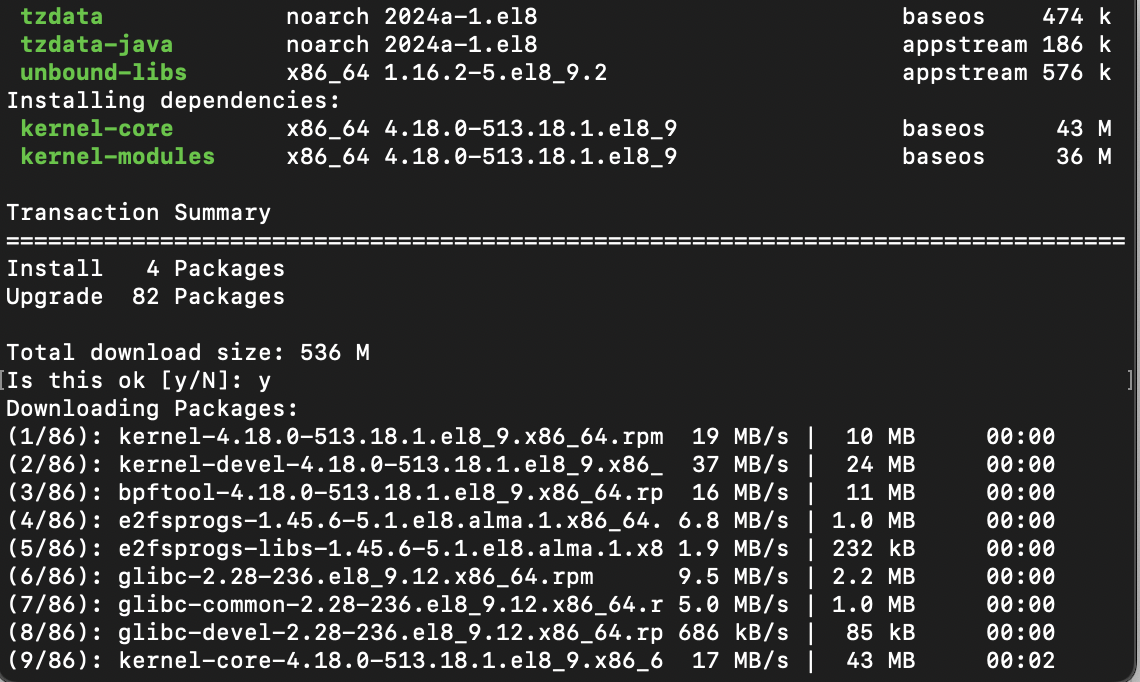
Step 1: Upgrading Packages
Use these yum commands in Alma, CentOS and Rockey Linux
sudo yum check-update
sudo yum update
If you using Ubuntu, then you may use this
sudo apt update && sudo apt upgrade -y
Step 2: Install CyberPanel
Once we are done with the package upgrades now, we are ready to initiate the CyberPanel command
sh <(curl https://cyberpanel.net/install.sh || wget -O - https://cyberpanel.net/install.sh)
After downloading, the script will automatically run and present you with several installation options:

Press 1 to Continue the installation

If you do not wish to use Paid Version of LiteSpeed press 1 and hit enter for next step and it will start setting up your CyberPanel on OpenLiteSpeed Web Server.

Press “Y” and Enter

If you are not sure what Remote MySQL is or not going to use it then you don’t have to install it in that case, press “N” and Enter

Here its asks which version of cyberpanel you would like to install, if you want to use the latest version, then directly hit “ENTER“

Install Memcache Php Extension by pressing “Y” and Enter

To Install Redis in CyberPanel press “Y” and Enter

Avoid watchdog installation if you are not going to use it by pressing “N” and enter
Step 3: Accessing CyberPanel
Once the installation completes, the script will provide you with the URL to access CyberPanel, along with the default username (admin) and password. Access CyberPanel by navigating to the provided URL in your web browser.
https://your_server_ip:8090
Step 4: Post-Installation Setup
- Secure CyberPanel: Change the default password immediately after your first login to secure your installation.
- Configure Firewall: Ensure that ports
8090,7080(OpenLiteSpeed),443,80, and others as required by your applications are open on your server’s firewall. - Check for Updates: Regularly check for updates within CyberPanel to keep your server secure and performant.
You’ve successfully installed CyberPanel on your server. You can now proceed to set up websites, configure email services, and more, using CyberPanel’s robust and user-friendly interface.