Upgrading CyberPanel is like giving your car a tune-up; it’s all about enhancing performance, security, and introducing shiny new features to your hosting environment.
If you’re like me, you know the importance of keeping software up to date. Not only does this ensure you have the latest tools at your disposal, but it also fortifies your digital space against any unwelcome intruders.
So, let’s dive into the details of upgrading CyberPanel, making this seemingly daunting task seem like a walk in the park.
Step 1: Back It Up
Before we roll up our sleeves and get our hands dirty, let’s start with the basics: backing up your data. Think of this step as putting on your seatbelt before driving. You hope you won’t need it, but you’ll be glad it’s there if you do. Use CyberPanel’s built-in backup feature to safeguard your websites, databases, and emails. It’s a simple yet crucial step to ensure you can restore your digital life in case of any hiccups along the way.
Step 2: SSH into Your Server
Now, it’s time to channel your inner tech wizard by using SSH (Secure Shell) to access your server. This is akin to entering the cockpit of your car, where all the magic happens. Open your terminal or command prompt, and connect to your server with the following spell (command):
ssh root@your_server_ipReplace your_server_ip with your actual server IP address. If you’re prompted for a password, enter your root password. Voilà, you’re in!
Step 3: Command to Upgrade
With the power of SSH, upgrading CyberPanel is as easy as casting a simple spell. The command you need is as follows:
bashCopy code
sh <(curl https://cyberpanel.net/upgrade.sh || wget -O - https://cyberpanel.net/upgrade.sh)This incantation fetches and executes the upgrade script directly from CyberPanel’s spellbook (website). It’s straightforward, but it requires patience. The script will diligently work its magic, downloading and installing the latest version of CyberPanel for you.
Step 4: Follow the Prompts
As the script runs, it might ask for your input on various matters, such as whether to upgrade certain components. Think of these prompts as the script asking for directions on our journey. Provide the necessary responses to guide it along the path to successfully upgrading your CyberPanel installation.
Step 5: Final Checks and Balances
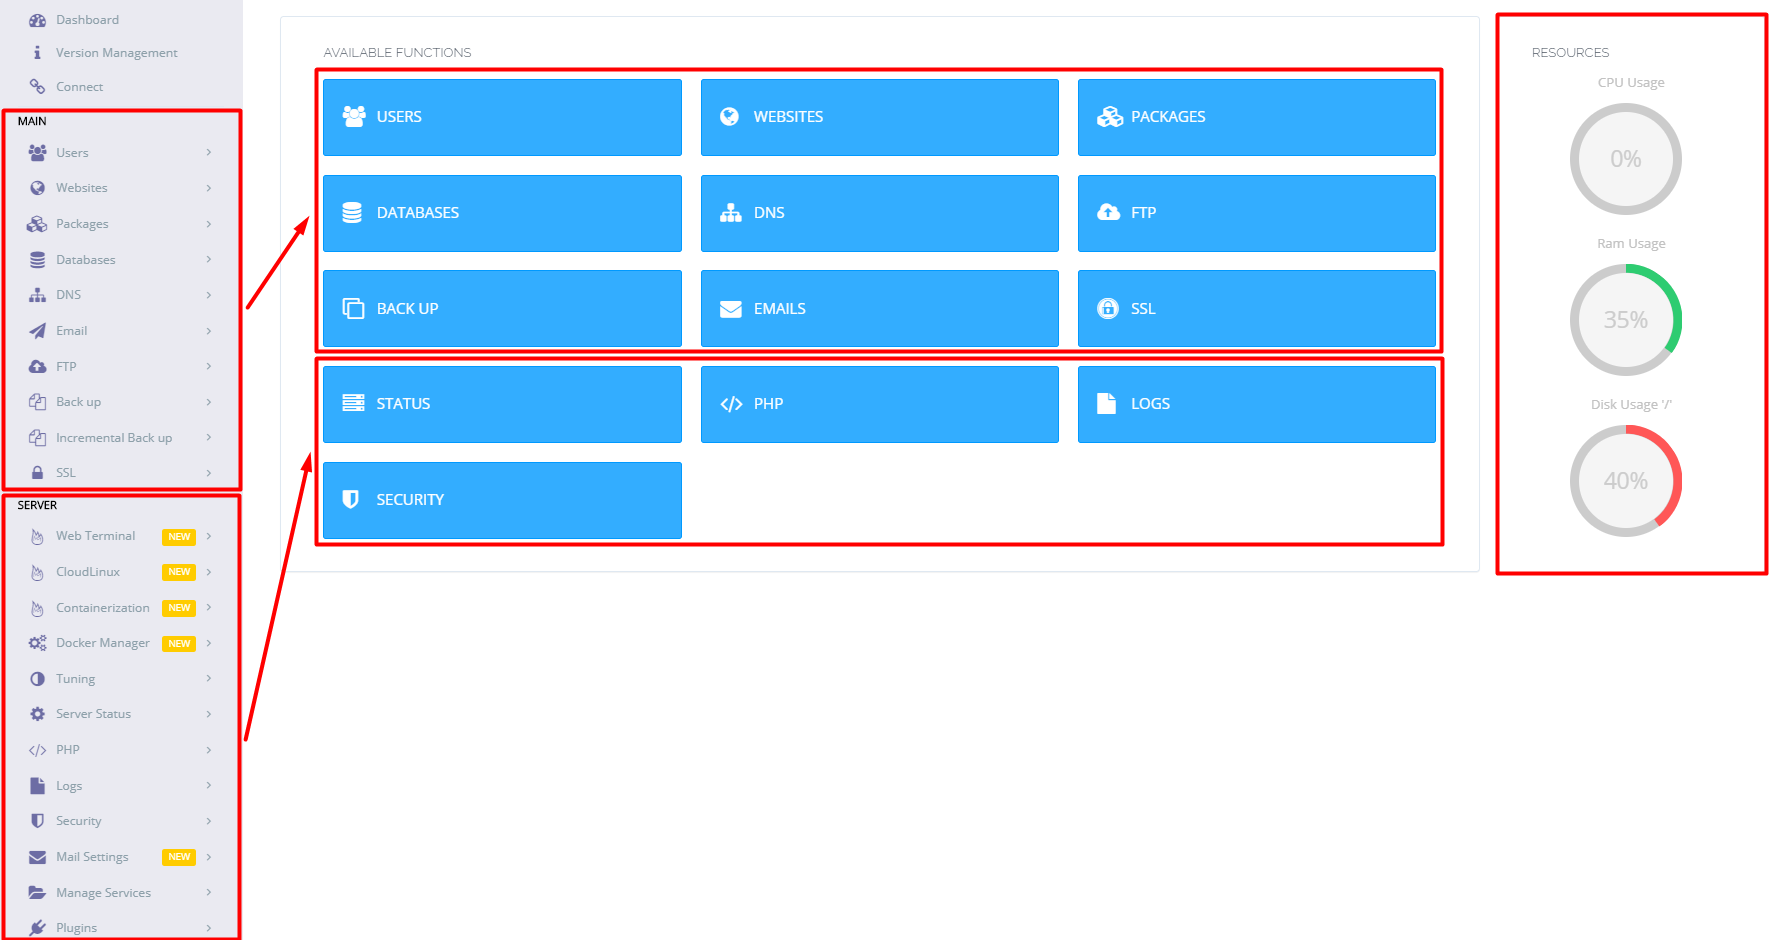
Once the upgrade script completes its task, it’s wise to perform a few checks and balances. Navigate to your CyberPanel dashboard to ensure everything looks as it should. It’s akin to taking your car for a short test drive after a tune-up, to make sure all the new parts are working harmoniously.