Just creating an elegant-looking website is not enough to gain traffic you also need to make it secure so that your audience can trust you and buy your services. And that is where SSL certificates come into play.
An SSL certificate makes your website more secure by creating an encrypted link between your website and the user. Hence, this article will explain how you can enable SSL on your website through cPanel to make your website more secure.
How to Enable SSL in cPanel?
To install the SSL on your website successfully, you just need to follow the steps mentioned below.
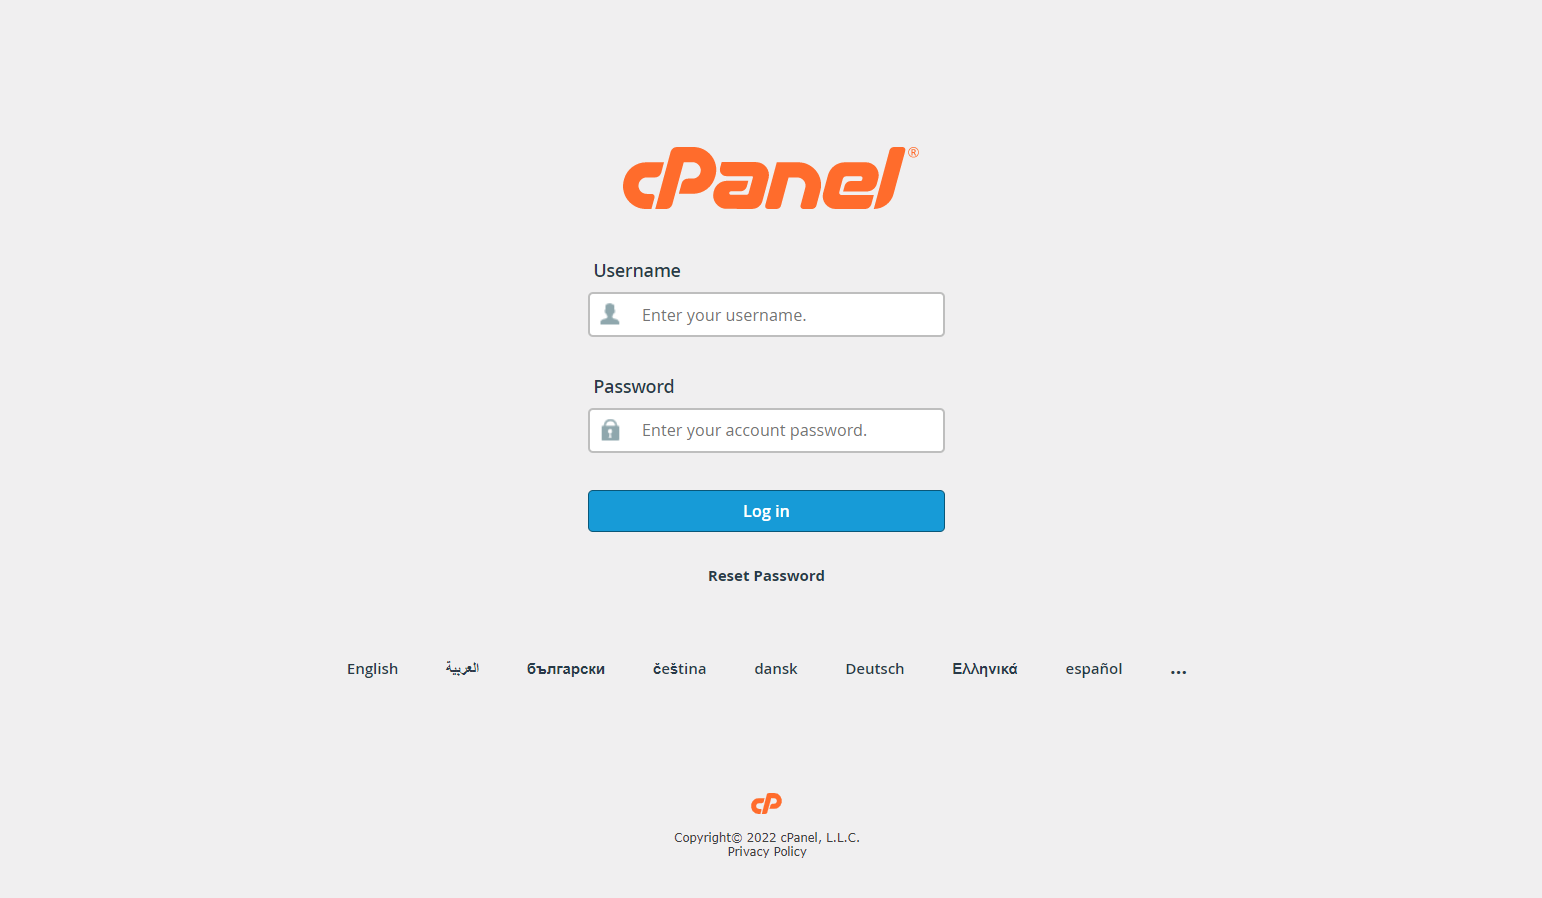
Step 1. Login to cPanel: Open your cPanel login page and get into your cPanel dashboard.
Note: You may face some errors while doing so — if you have lost your password, you can also reset it by clicking on the reset password button.
Step 2. Navigate to the SSL/TLS Manager: Click on the SSL/TLS that you will find beneath the security dialogue box.
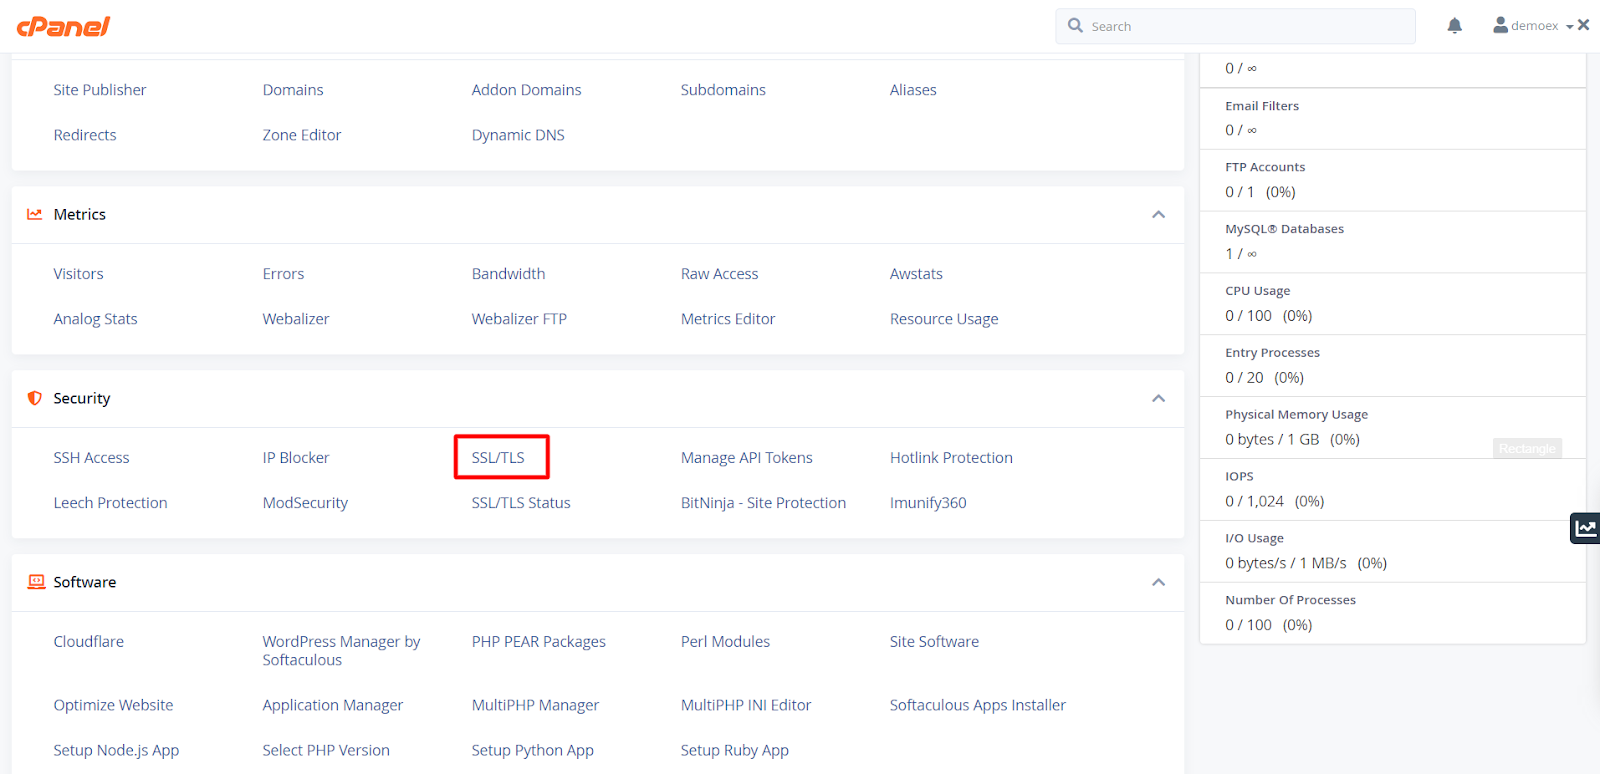
Note: If you didn’t find it, then search it on the search bar at the top-right corner of the dashboard.
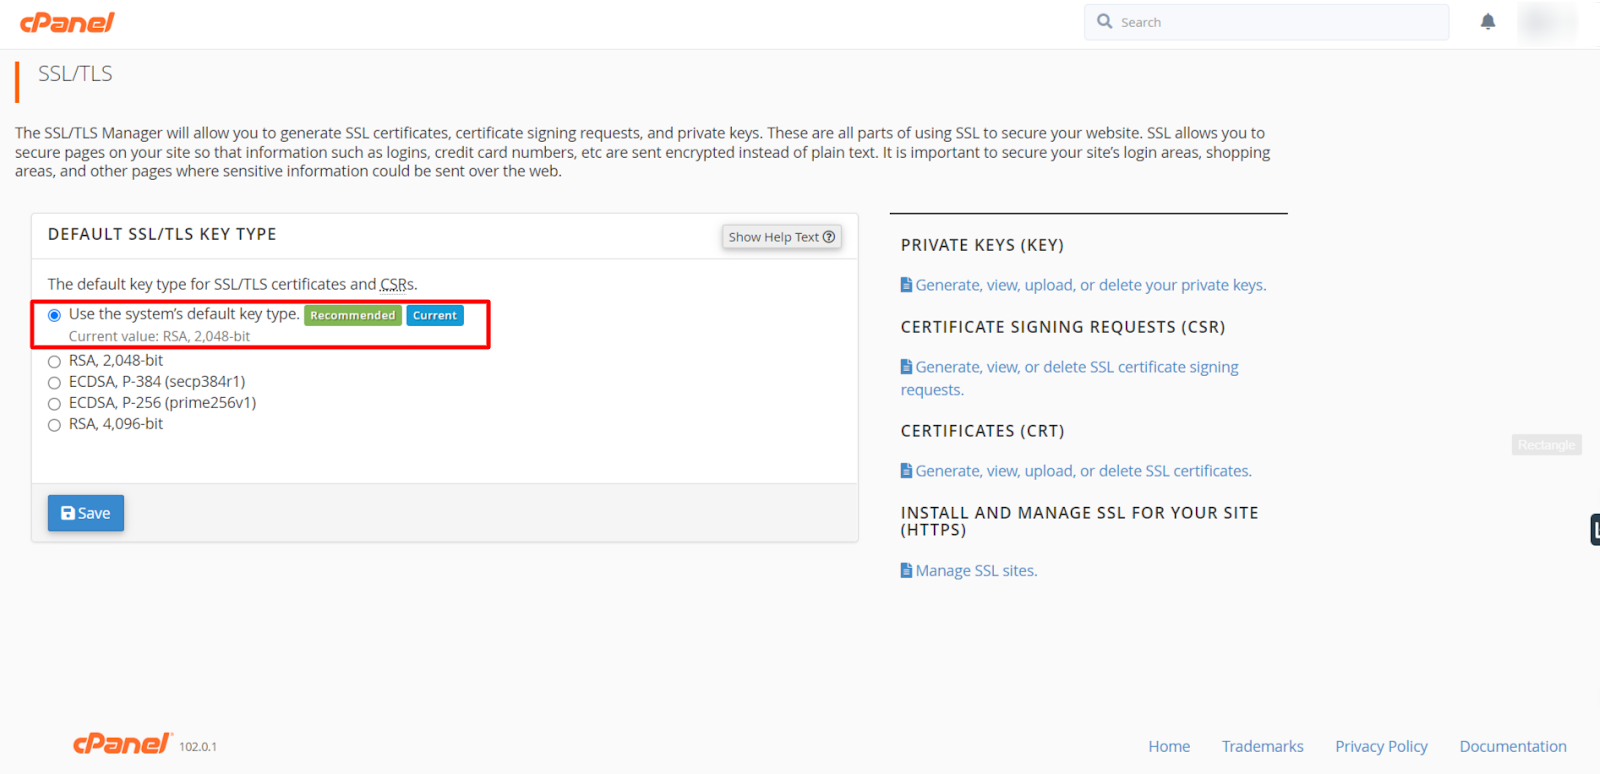
Step 3. Enable default SSL key types: Usually, the default SSL key type is used to be the RSA 2048, so change it to that if it is different.
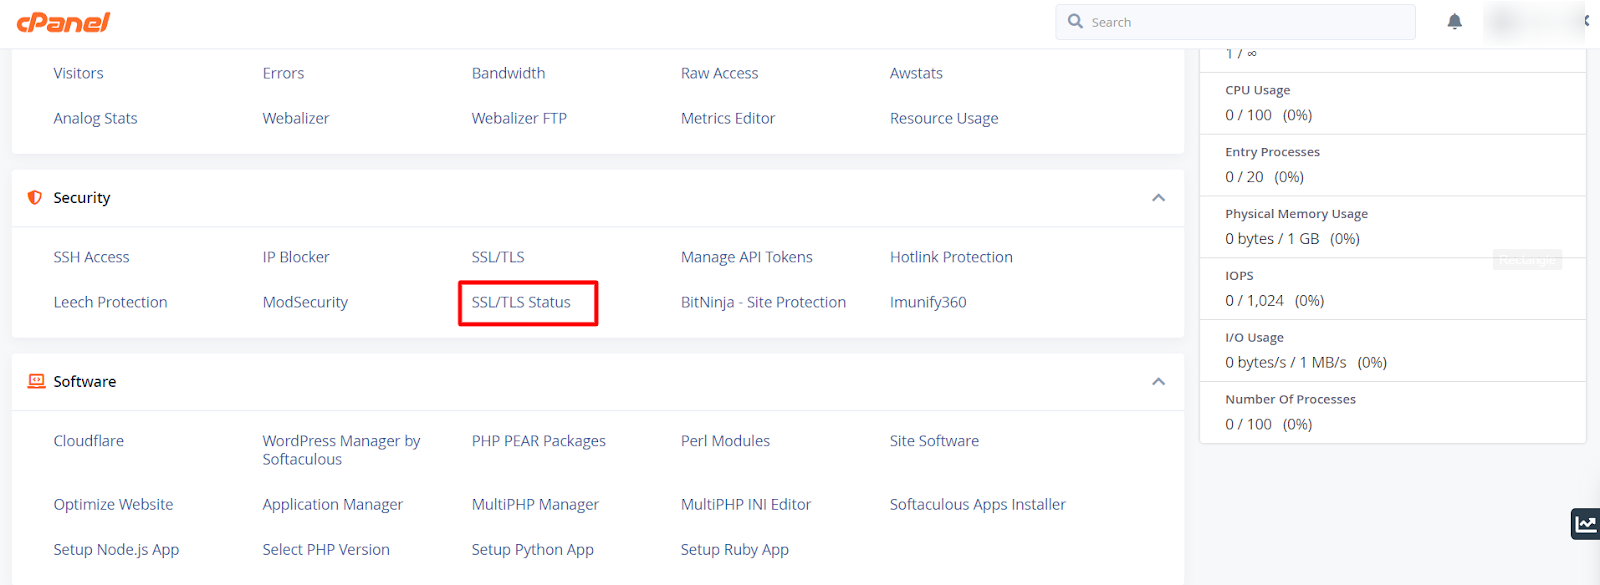
Step 4. Change the SSL status: Go back to the main dashboard and click on SSL/TLS status button in order to activate the SSL Certificate on your domain.
Step 5. Choose your domain and activate the SSL certificate: Choose all the domains you want to enable the SSL certificate by clicking on the box beside it.

Step 6. Click on the save settings and Tada! You have successfully enabled SSL in cPanel on your website you make it safer and more secure.
The mentioned steps are tested and found very easy to apply that’s why explained with these steps. You may find some methods on the internet but this is the easiest one.
Related Article:
How to Change cPanel Password
How to Login into cPanel
How to change the PHP version in cPanel?
How to increase file upload size in cPanel