We all love WordPress It is easy to design a professional-looking website without having programing knowledge at all.
If you are website designer then working locally always been a best solution to see the changes on real time without impacting your user’s experience at all.
There are various options available to Install WordPress CMS on your Windows, Mac or Linux based machines and here we will be discussing about 2 easiest methods on setting up WordPress.
How to Install WordPress using Ammps (WAMP Stack) by Softaculous?
Here are the steps to Install WordPress using Ammps are:
Step 1: Download and Install AMPPS
Visit the official AMPPS website: https://www.ampps.com/download
Download the AMPPS installer that matches your operating system (Windows, macOS, or Linux).
Run the installer and follow the on-screen instructions to install AMPPS on your computer.
Step 2: Start & Login AMPPS
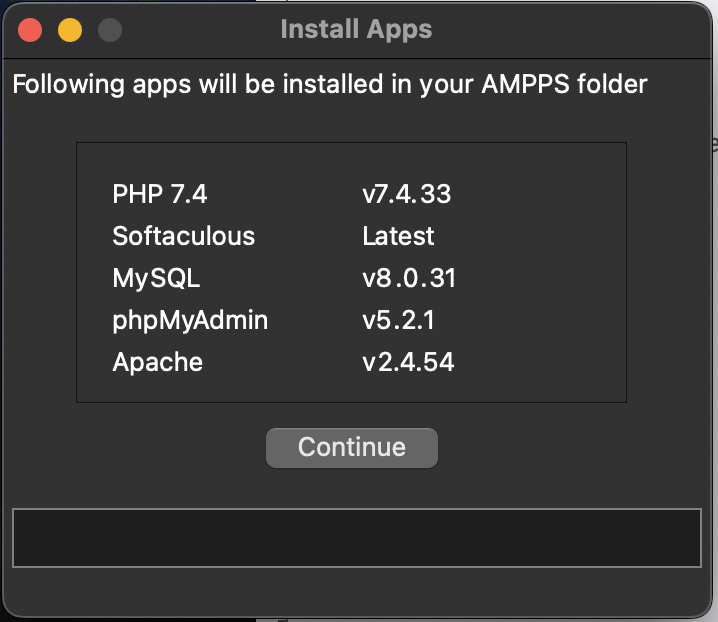
After installation, launch AMPPS from your desktop or start menu and once you start you need login with your Softaculous Account (Create new account if you don’t have already https://www.softaculous.com/clients) and click on Continue on Services Installation Tab.
By Default it will install
Php 7.4, Softaculous, MySQL 8.0.1, PMA 5.2.1 and Apache 2.4.54
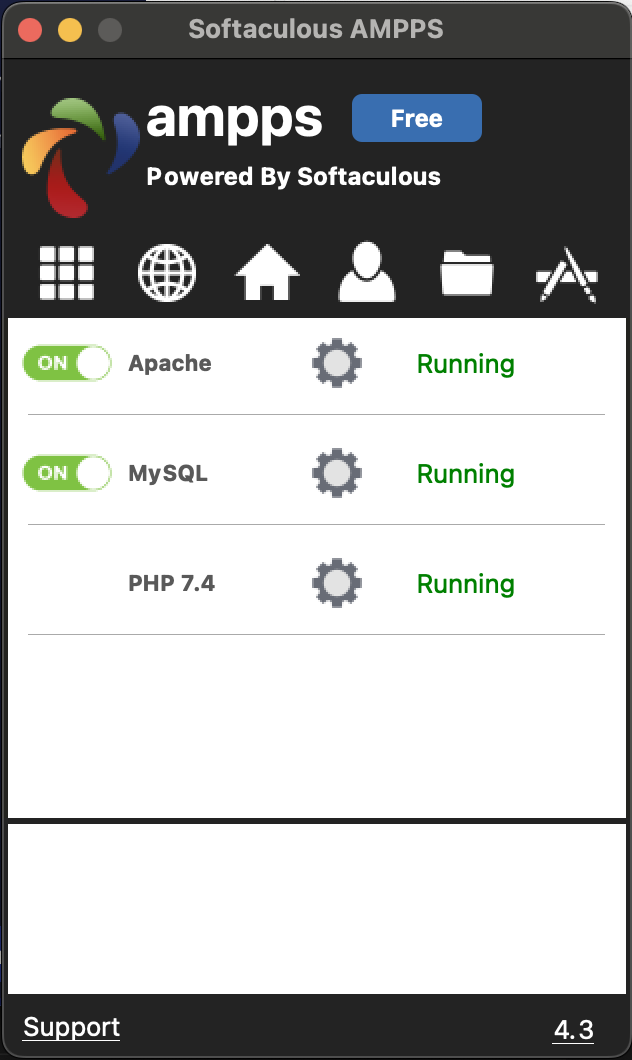
Step 3: Start Apache, MySQL and Php
Once AMPPS is running, you’ll see the AMPPS Control Center.
Start the Apache and MySQL services by clicking the “Start” button next to each of them. They should turn green when they are running.
Step 4: Create a Database for WordPress
- Open a web browser and go to http://localhost/ampps.
- Click on the “phpMyAdmin” link in the AMPPS Control Center. This will open phpMyAdmin in your browser.
- It will ask you login credentials and by details username is “root” and password is “mysql”
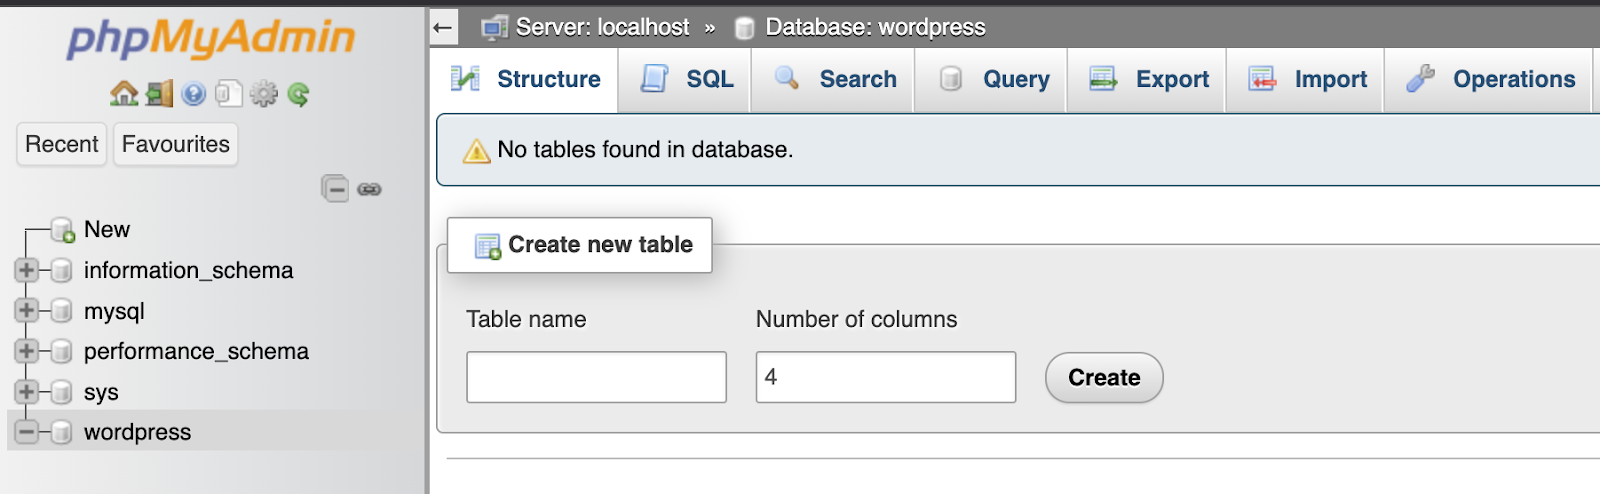
- Click on “Databases” in phpMyAdmin’s menu.
- Enter a name for your WordPress database (e.g., “wordpress”) and select “utf8_general_ci” as the collation.
- Click the “Create” button to create the database.
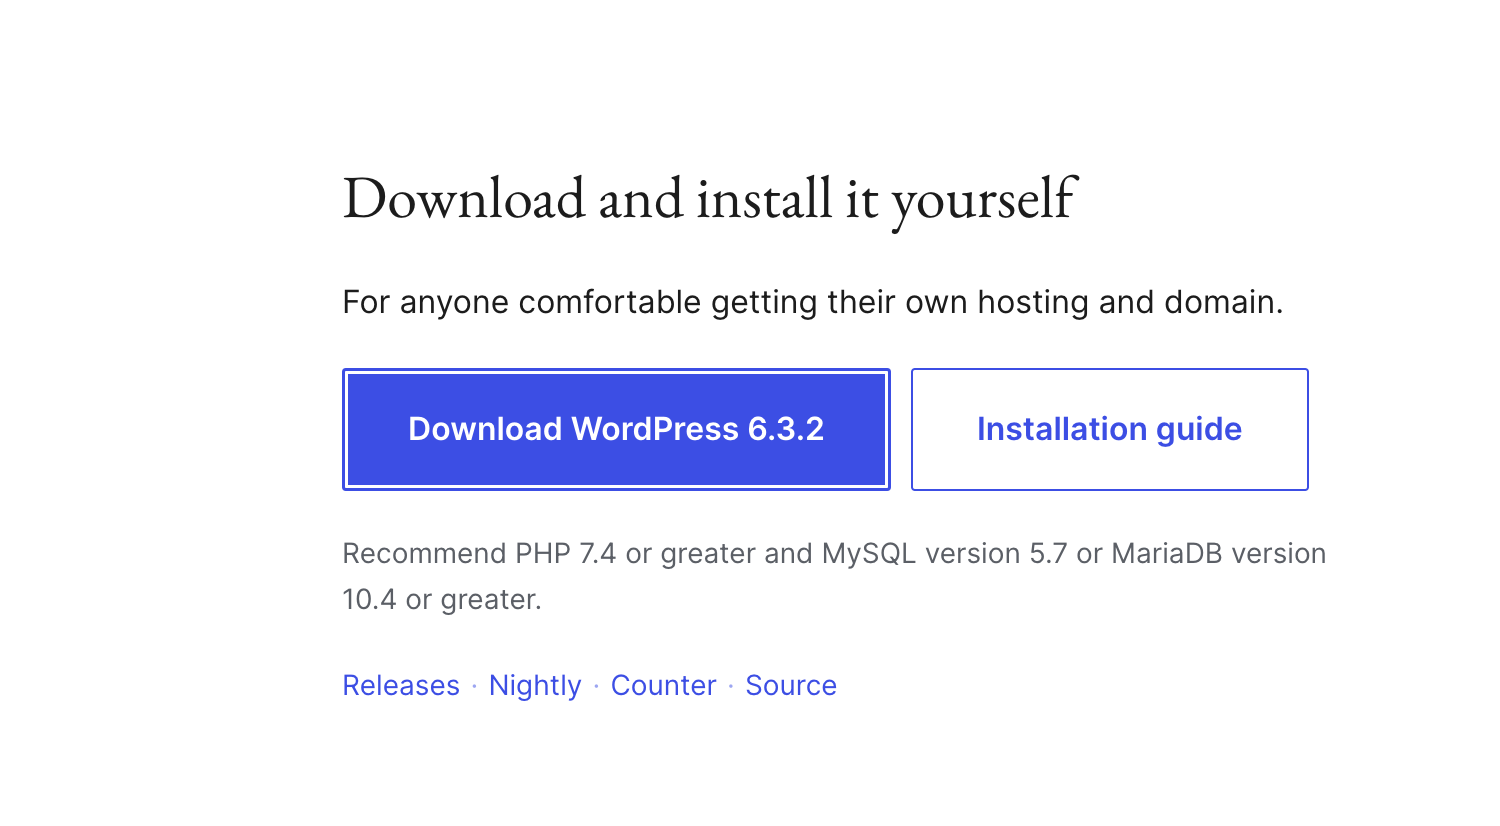
Step 5: Download WordPress
- Visit the official WordPress website: https://wordpress.org/download/
- Download the latest version of WordPress in a ZIP format.
- On Ampps Dashboard choose “root directory” to navigate file location of your website and content
- Create new directory under “root dir” and Extract the ZIP file to a folder on your computer.
Step 6: Configure WordPress
- Rename the “wp-config-sample.php” file in the WordPress folder to “wp-config.php.“

- Open “wp-config.php” in a text editor (e.g., Notepad on Windows or TextEdit on macOS).
Step 7: Configure Database Settings
In “wp-config.php,” locate the following lines:
- define(‘DB_NAME’, ‘database_name_here’);
- define(‘DB_USER’, ‘username_here’);
- define(‘DB_PASSWORD’, ‘password_here’);
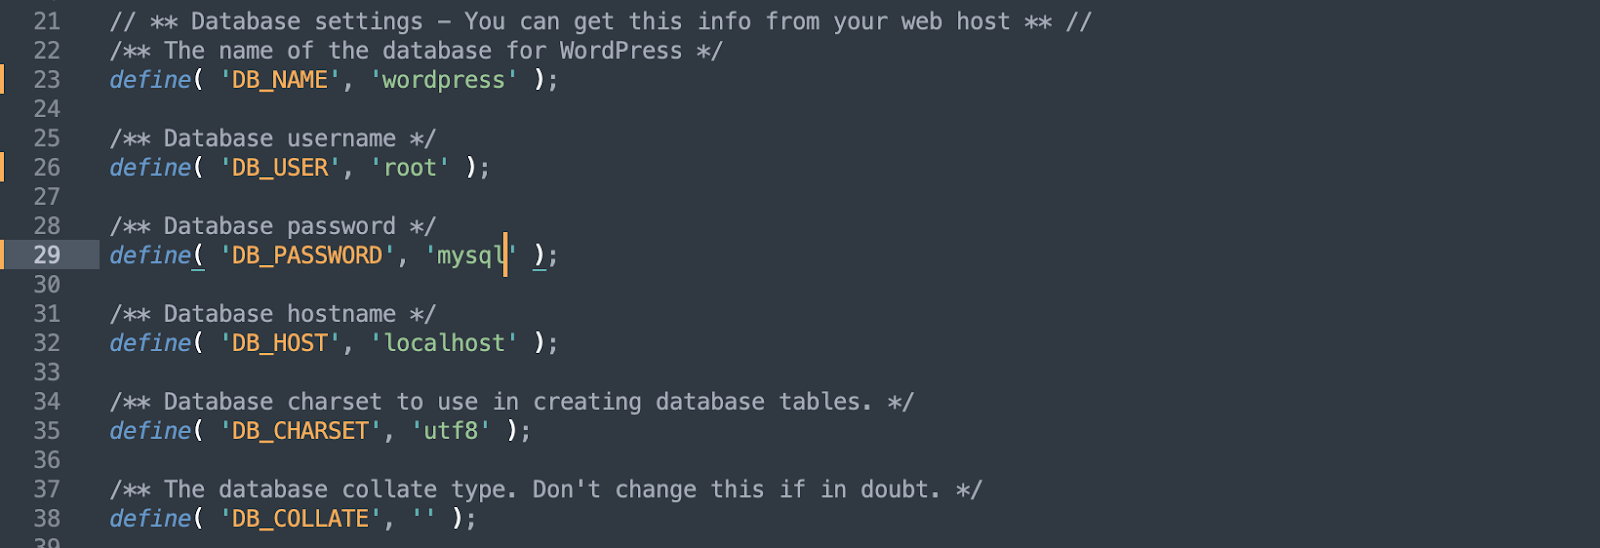
- Replace ‘database_name_here‘ with the name of the database you created earlier.
- Replace ‘username_here’ with “root.”
- Replace ‘password_here’ with “mysql”.
Step 8: Save and Close
Save the changes you made to “wp-config.php” and close the text editor.
Step 9: Install WordPress
- Open a web browser and go to http://localhost/wp
(replace “your-wordpress-folder-name” with the actual folder name where you extracted WordPress).
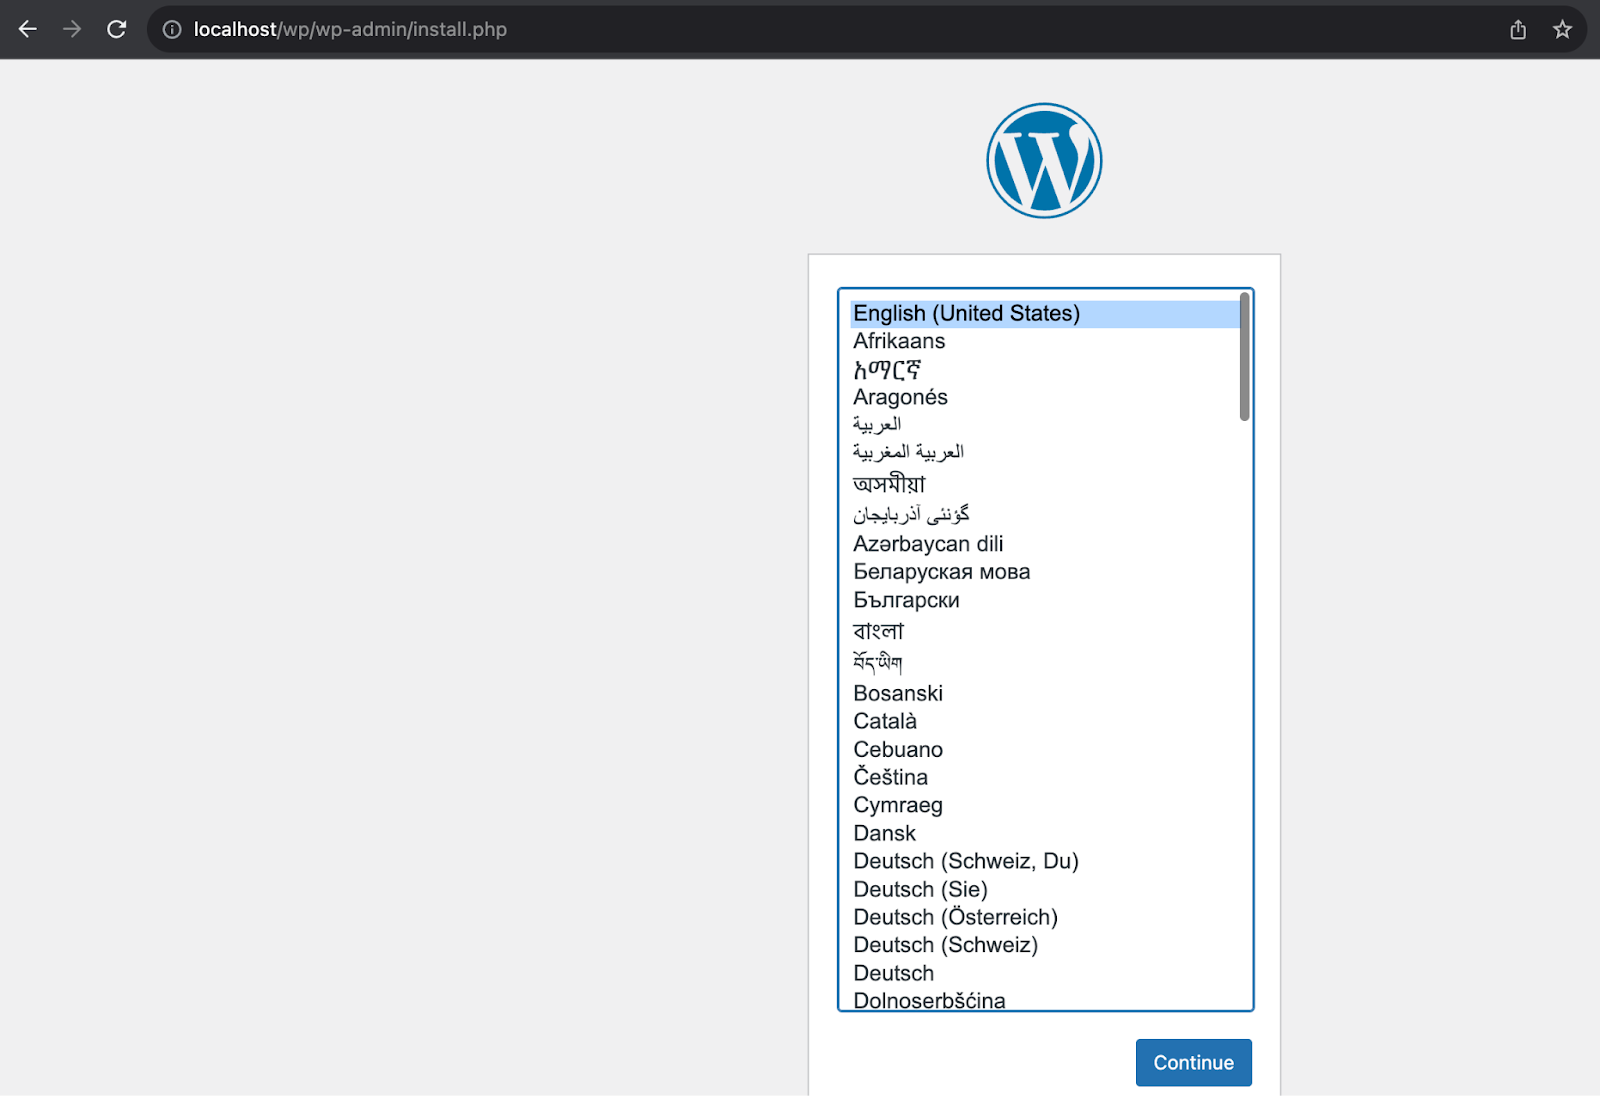
- You will see the WordPress installation wizard. Select your language and click “Continue.”
- Fill in the requested information for your WordPress website, including the site title, username, password, and email address.

- Click “Install WordPress.“
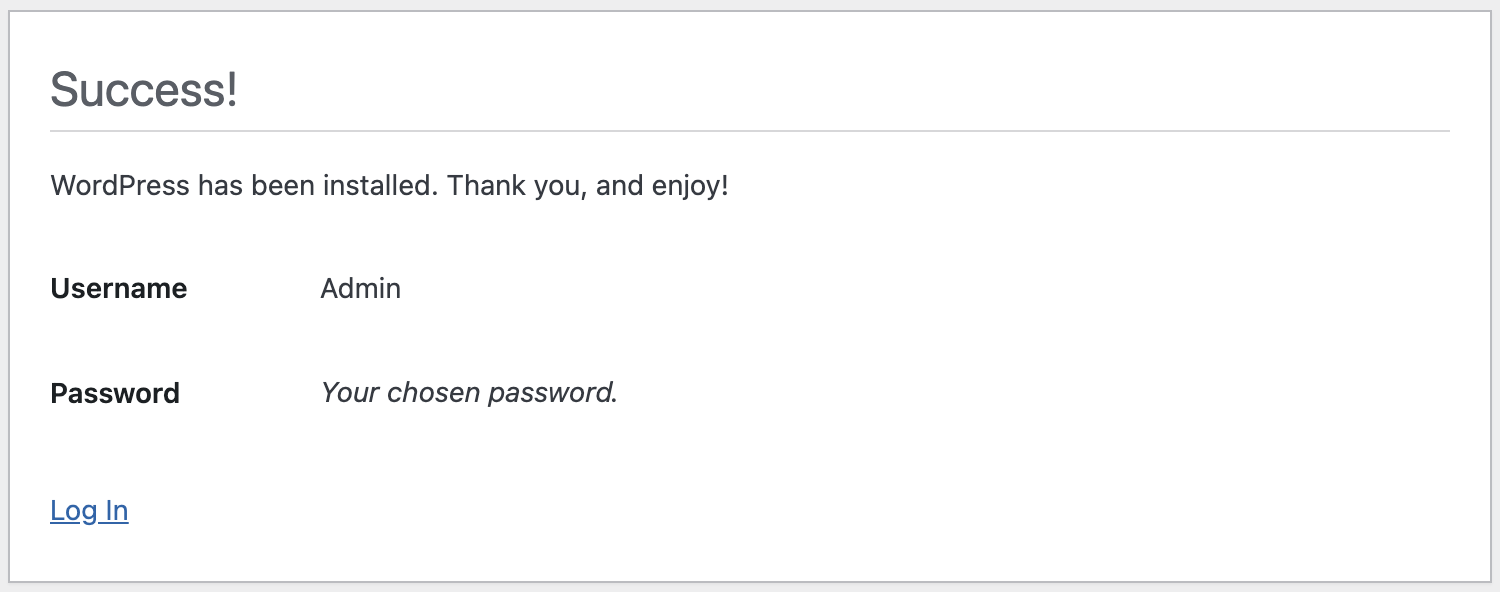
Step 10: Access Your Local WordPress Site
After the installation is complete, you can log in to your local WordPress site by going to http://localhost/wp/wp-admin/
(replace “your-wordpress-folder-name” with the actual folder name where you extracted WordPress).
- Use the username and password you set during installation to log in.
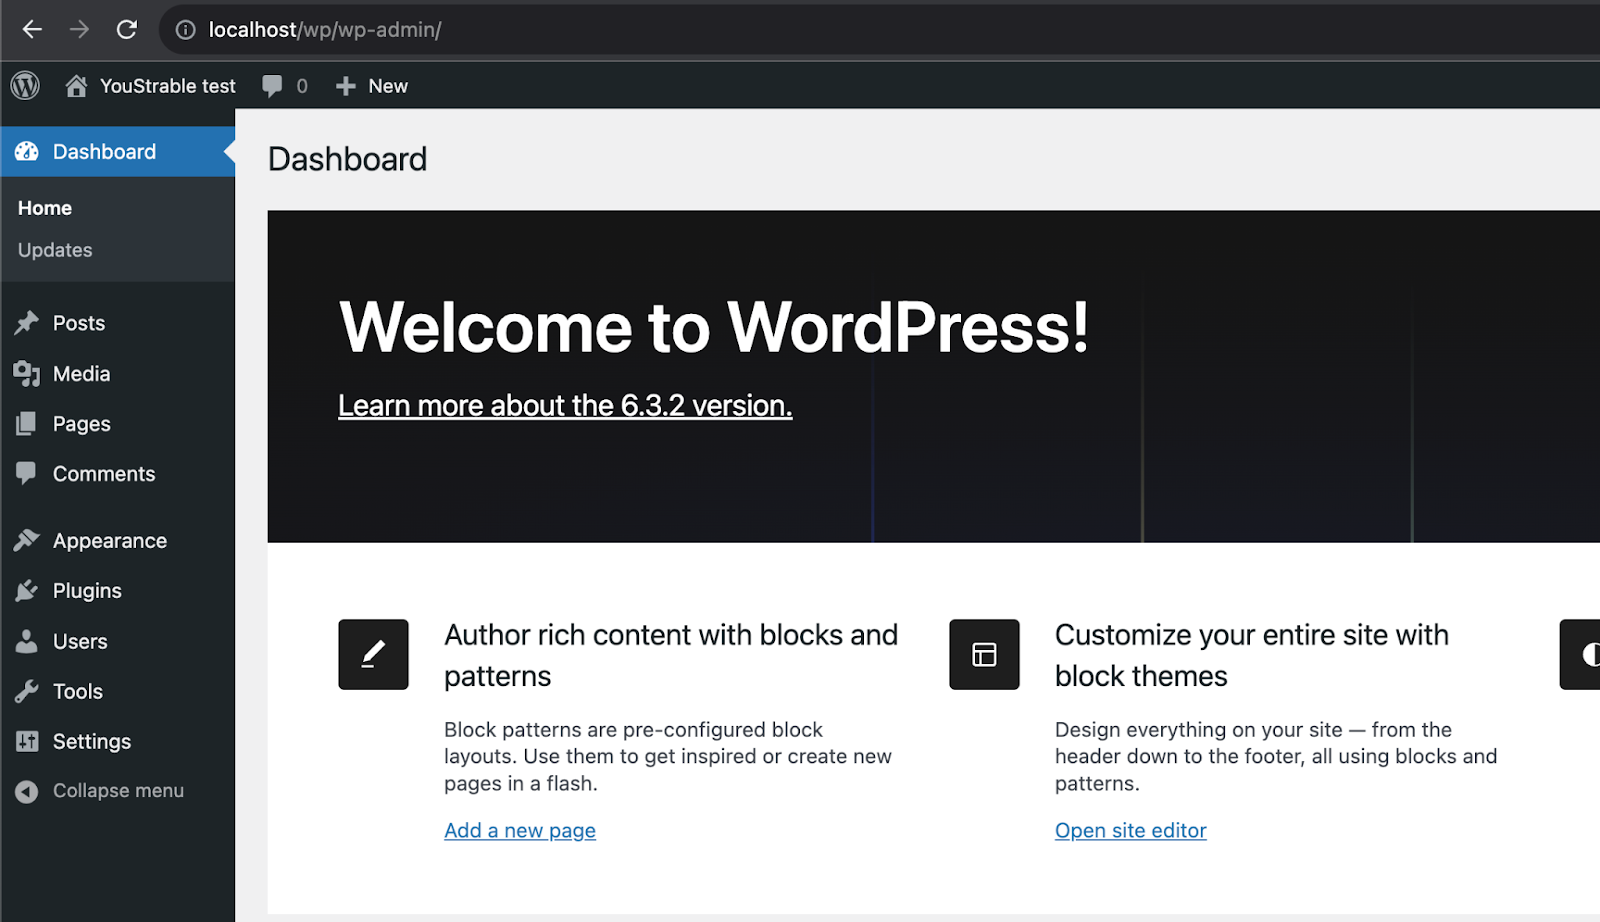
You have now successfully installed WordPress locally using AMPPS. You can start developing and testing your website locally before deploying it to a live server.
If you are new to AMPPS application then don’t worry you can follow the same procedure for XAMPP and WAMP Applications as well because all 3 of these carry the same envoirement to run your application.